October 02, 2026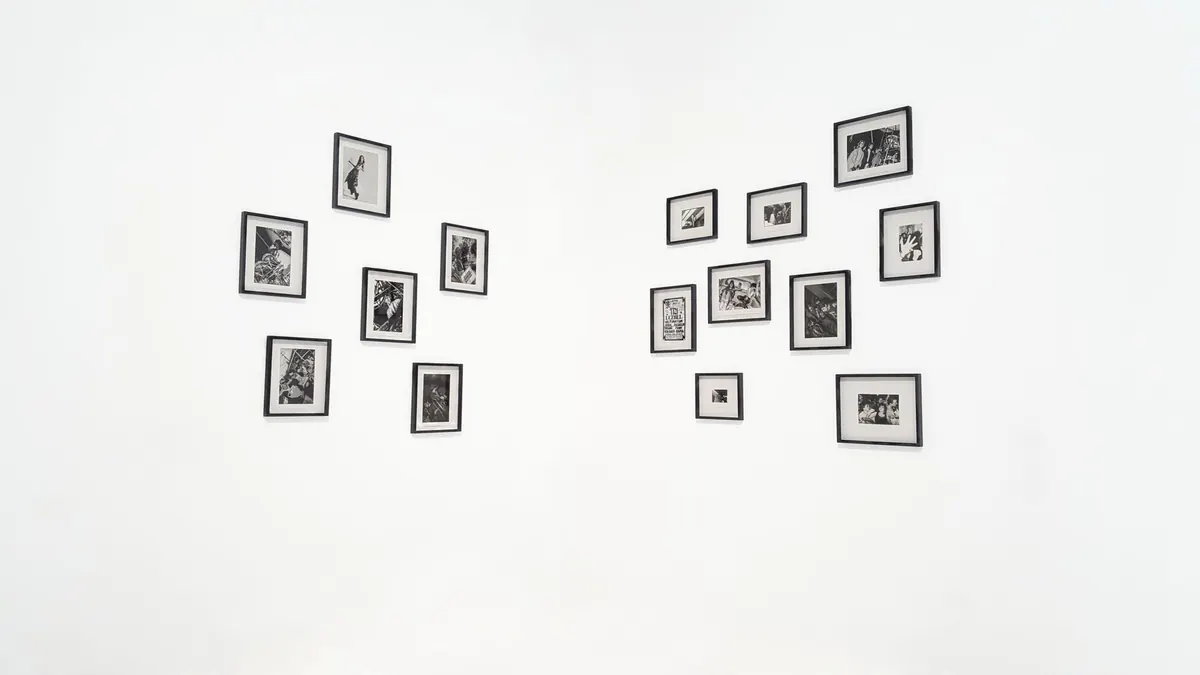
A blank wall is the easiest thing in a room to ignore and the hardest thing to get right. One frame looks accidental; a dozen scattered at random look worse. But a gallery wall — planned, spaced, and hung with a little patience — turns the same square footage into the most deliberate spot in the house. None of it requires an artist's eye. It requires a tape measure, some paper, and the willingness to plan before you drill.
Start With the Wall, Not the Art
Before you think about frames, stand in the room and look at where the pictures are supposed to go. A hallway wall reads as a single horizontal band, so art there should sit in a fairly even line at eye level. A wall above a sofa wants a grouping that sits roughly six to ten inches above the sofa back and spans about two-thirds to three-quarters of its width — any narrower and the art looks lost, any wider and it competes with the furniture. A staircase wall does best with pieces that climb at roughly the same angle as the handrail.
Then shop your own house. Pull candidates from other rooms, stack them against the baseboard, and see what actually relates. You do not need a matched set. You need pieces that share at least one thing: a frame color, a mat width, a palette, or a subject. One repeated element is what makes a mixed group look collected rather than random.
Lay It Out Flat Before It Goes Up
Clear the floor in front of the wall and tape off a rectangle that matches the wall's real dimensions. Arrange the frames inside that rectangle until the balance feels right — no single corner heavier than the others, gaps roughly even. Step back and take a photo with your phone. Small arrangements look different at arm's length than they do from across the room, and the photo is an honest second opinion.
For the wall itself, make paper templates. Trace each frame onto kraft paper, cut the shapes out, and tape them up with painter's tape, starting with your anchor piece. Mark the hanging point on each template while it is still on the floor. Then drill and drive your hooks right through the paper, hang the frames over it, and tear the paper away. This is the single habit that separates a clean installation from a wall that looks like a colander.
Four layouts that always work
- Grid. Same-size frames, equal gaps, perfectly aligned rows. Calm, formal, and the most forgiving if your frames match.
- Salon-style. Mixed sizes filling outward from a center point. Feels collected and layered, and it hides odd frame sizes well.
- Column. Two or three vertical stacks of similar width. Ideal for narrow walls, alcoves, and stair risers.
- Ledge. Frames resting on a picture ledge instead of hanging. Rearranging costs nothing and leaves no holes.
Pick an Anchor and Build Outward
Choose the piece you like most and treat it as the anchor. Place it near the center of the arrangement — near, not exactly on, the middle. A grouping centered to the millimeter can look like a spreadsheet; nudging the anchor slightly off-center is what makes it feel hung rather than manufactured.
Build outward from there. Keep the gaps between frames consistent, usually two to three inches, and let smaller pieces cluster around a large one rather than spreading evenly. Watch the visual weight, too: if your biggest frame sits on the left, put two medium pieces on the right so the wall doesn't tip.
The Numbers That Make It Look Intentional
A few conventions do most of the work. The center of the arrangement usually lands around 57 inches from the floor, which is roughly eye level for most adults. Above furniture, keep six to ten inches of breathing room. Between frames, hold the gap steady at two to three inches. If you are using mats, keep the mat width consistent even when the frames differ — matching visual borders do more for cohesion than matching frame finishes.
Measure to the hardware, not the frame
This is where most holes go wrong. You decide the top of the frame should be 60 inches from the floor, then you measure 60 inches, mark the wall, and drill — and the frame hangs two inches low, because the hanging point is not at the top of the frame. Instead, pull the wire up as taut as the frame's weight will pull it, measure from the top edge of the frame down to where the wire crosses the hook, and subtract that distance from your target. With D-rings, measure from the top edge of the frame to the top of the ring and place the hook that far below your line. Do the math once per frame and write the number on the paper template.
Tools and Hardware Worth Having
- Tape measure, pencil, and a 24-inch spirit level (or a level app you trust)
- Painter's tape and kraft paper for templates
- Stud finder, drill with bits, and a screwdriver
- Hooks and anchors rated for the actual weight of each piece
- A step stool, so you are not hanging a frame over your head at full stretch
- Felt bumpers for the back corners, which keep frames from sliding and marking the wall
Match the Hardware to the Wall
Drywall. Thin hollow-wall hooks hold light and medium frames well. For anything heavier — a large framed print, a mirror — use a toggle or self-drilling anchor sized to the weight, and hit a stud when you can.
Plaster and lath. Older plaster cracks if you hammer a hook into it. Drill a pilot hole slightly smaller than your anchor and set the anchor with a screwdriver instead.
Brick, block, or concrete. Use a masonry bit and a plastic sleeve anchor or masonry screw. If you are renting and the wall is precious, hang from a picture rail or lean the work on a ledge or deep shelf.
Rentals generally. Adhesive strips rated for the weight work on smooth, well-painted walls, but they can lift paint when removed. Test one in a closet or behind a door first, and keep the weight well under the rating.
The Final Check Before You Walk Away
Look at the wall from the doorway, then from the spot where you actually sit. Sit down on the sofa and glance sideways at it. One or two things will bother you, and they are usually small: a frame sitting an eighth of an inch high, a gap wider than the rest, a hook that is fine but a wire that has slipped. Fix those before you put the tools away, because you will not get around to it later.
Add felt bumpers to the bottom corners so the frames sit flat and stop sliding. If a cord or a lamp cable runs nearby, clip it to the baseboard rather than letting it cross your carefully planned wall. Then leave it alone. A gallery wall is allowed to be a work in progress — the point was never perfection, just a wall that finally looks like someone lives here.
Photo: Trash Art / Pexels